

***
Hi Mystical Friends
Firstly, Wishing you all a merry holiday season <3
My challenge for you for December is to make a series of 3 cards.
I don’t often do cards, but the “Oh Happy Day” collection from Kaisercraft just lends itself to Birthday cards.
Being the festive season, I thought it would be a quick and easy challenge for you to pop some cards together.
Enjoy.

Hi, Julie here with my challenge for you for this last month of the year.
My challenge this month is to create a Christmas project using non-traditional Christmas colours
This can be a layout, cards, mini album or any other project you would like to make.
I have created a mini album to hold our photos of Christmas Day.
I saw an album created in this fashion by Heidi Swamp several years ago.
She used her pre-printed cards but they are smaller than I wanted my album to be.
I wanted my album to be able to hold 6″ x 4″ photos without any trimming.
If you use pre-printed cards you don’t need to add patterned paper.
I have used purchased 5″ x 7″ pre-folded white card bases for this album.
The patterned paper I used for this album is Cocoa Vanilla’s Sunkissed,
a nice bright cheery collection that reflects the lovely warm/hot
Christmases we generally have here in Australia.
To start I trimmed 10 of the patterned papers to 4 3/4″ x 6 3/4″
inked around the edges with my Versacolor black ink cube and
attached them to both panels on the inside of the card bases.
There is no patterned paper on the outside of the card bases.
To join all of the cards together and create the album I ran
a row of double sided tape around the two long sided and the bottom short side.
Carefully lay one card on top of the other ensuring you have the cards lined up perfectly.
If they are not lined up exactly your album may be a little wonky.
Do this for all 5 cards.
By doing this you create a pocket between each page of your album.
I then took it to my sewing machine and stitched where I had applied the tape.
This is optional but it does strengthen the album.
I cut two piece of the patterned paper 5″ x 7″ to cover the front and back of my album.
The spine for the album is a piece of POW Gold Glitter cardstock that I cut to 1 1/2″ x 7″
and folded around the spine of the album. I have attached it to the back and front
covers using liquid glue. Do not put any glue on the centre section of the spine.

I created a tag to go inside each (4) of these pockets
I cut four pieces of white cardstock 4″ x 6 1/4″
I cut four pieces of patterned paper 3 3/4″ x 6″, inked the edges
and attached them to the cardstock.
Next I stamped a journalling panel onto white cardstock and cut the panel out.
This was then attached to the tag on top of the patterned paper.
This is actually the back of the tag, I have left the front plain so I can attach my photo.
To create a pull tab for the tags I stamped and clear heat embossed the
Tree and Bauble from Kaisercraft Sparkle stamp set
onto white cardstock and then fussy cut them out.
I created four of each shape so I could attach then to both the front and back of the tag.
You will need to choose a symmetric shape for this.
I used liquid glue to attache these as it gives me a little time to make sure they are perfectly lined up.
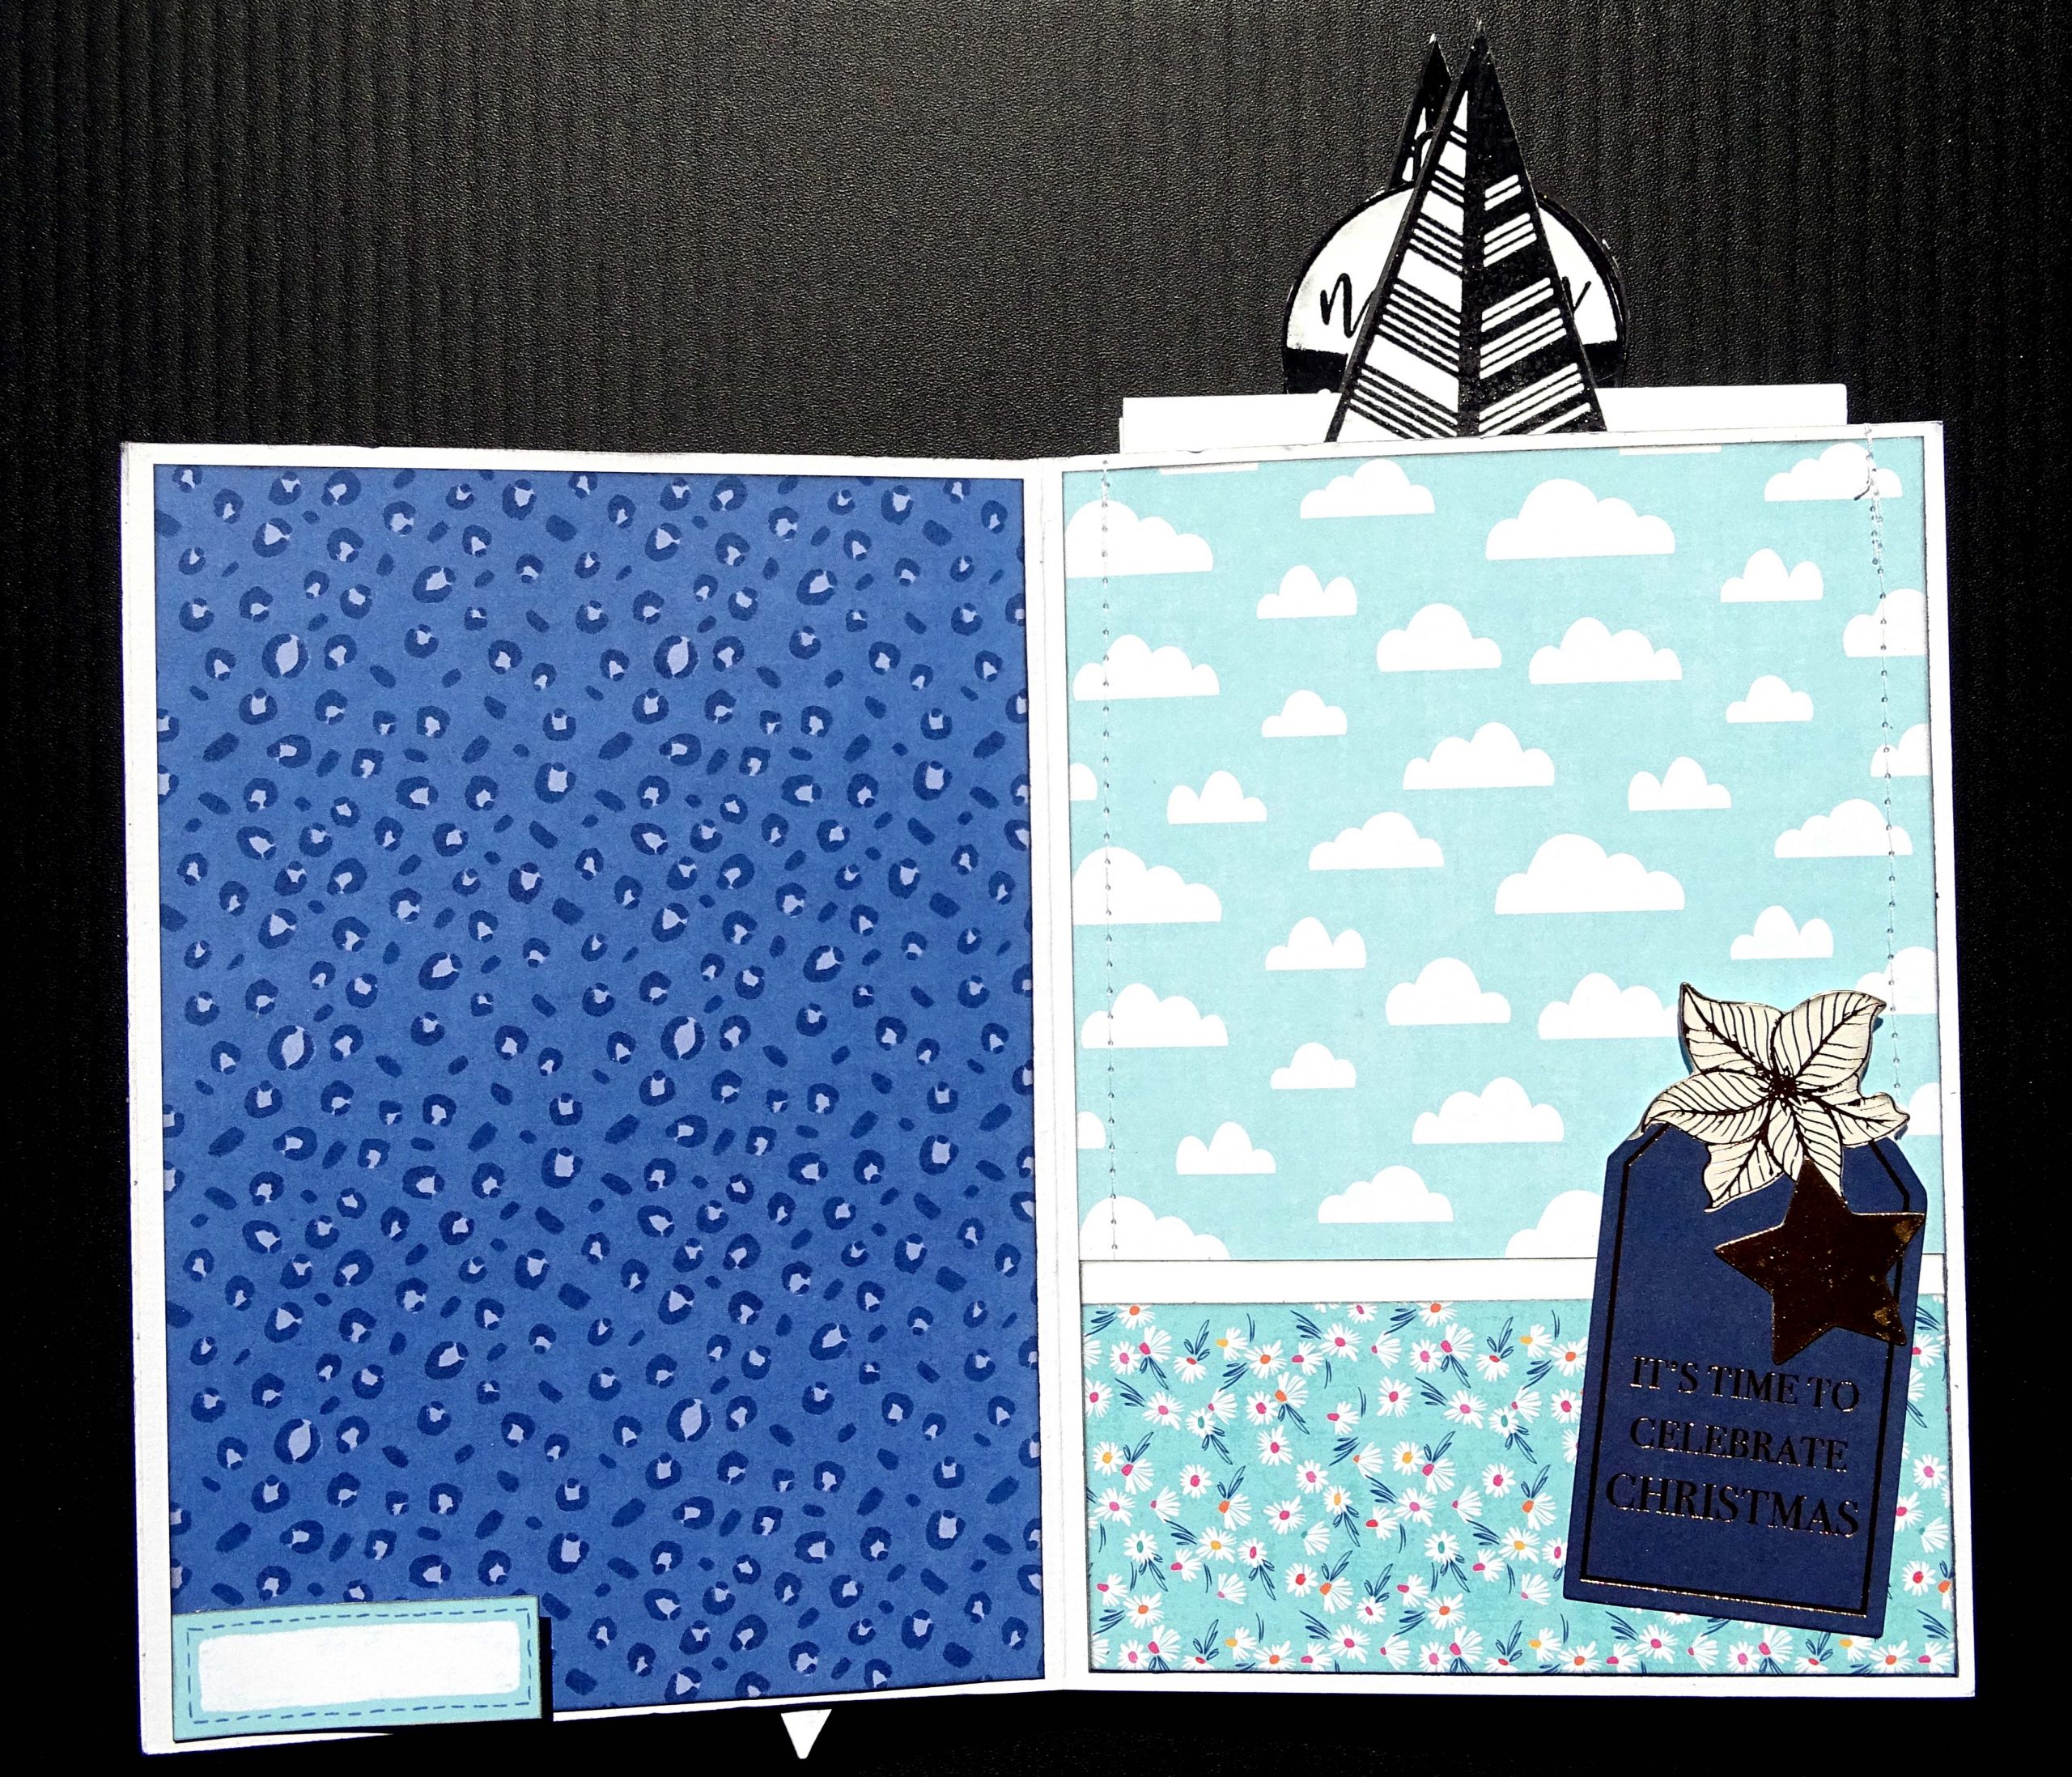
I have kept the inside of the album pretty plain as I did not want too much bulk.
Each opening has one plain page with a little journalling tab and
one page with a pocket and a flat, simple embellishment.
The embellishment for the page above came from the Kaisercraft Starry Night Collectables pack

The embellishments for this page came from
Kaisercraft Starry Night Collectables pack and
the Wooden Flourish pack from the same collection
I painted the “25” with Kaisercraft Dusty Pink acrylic paint
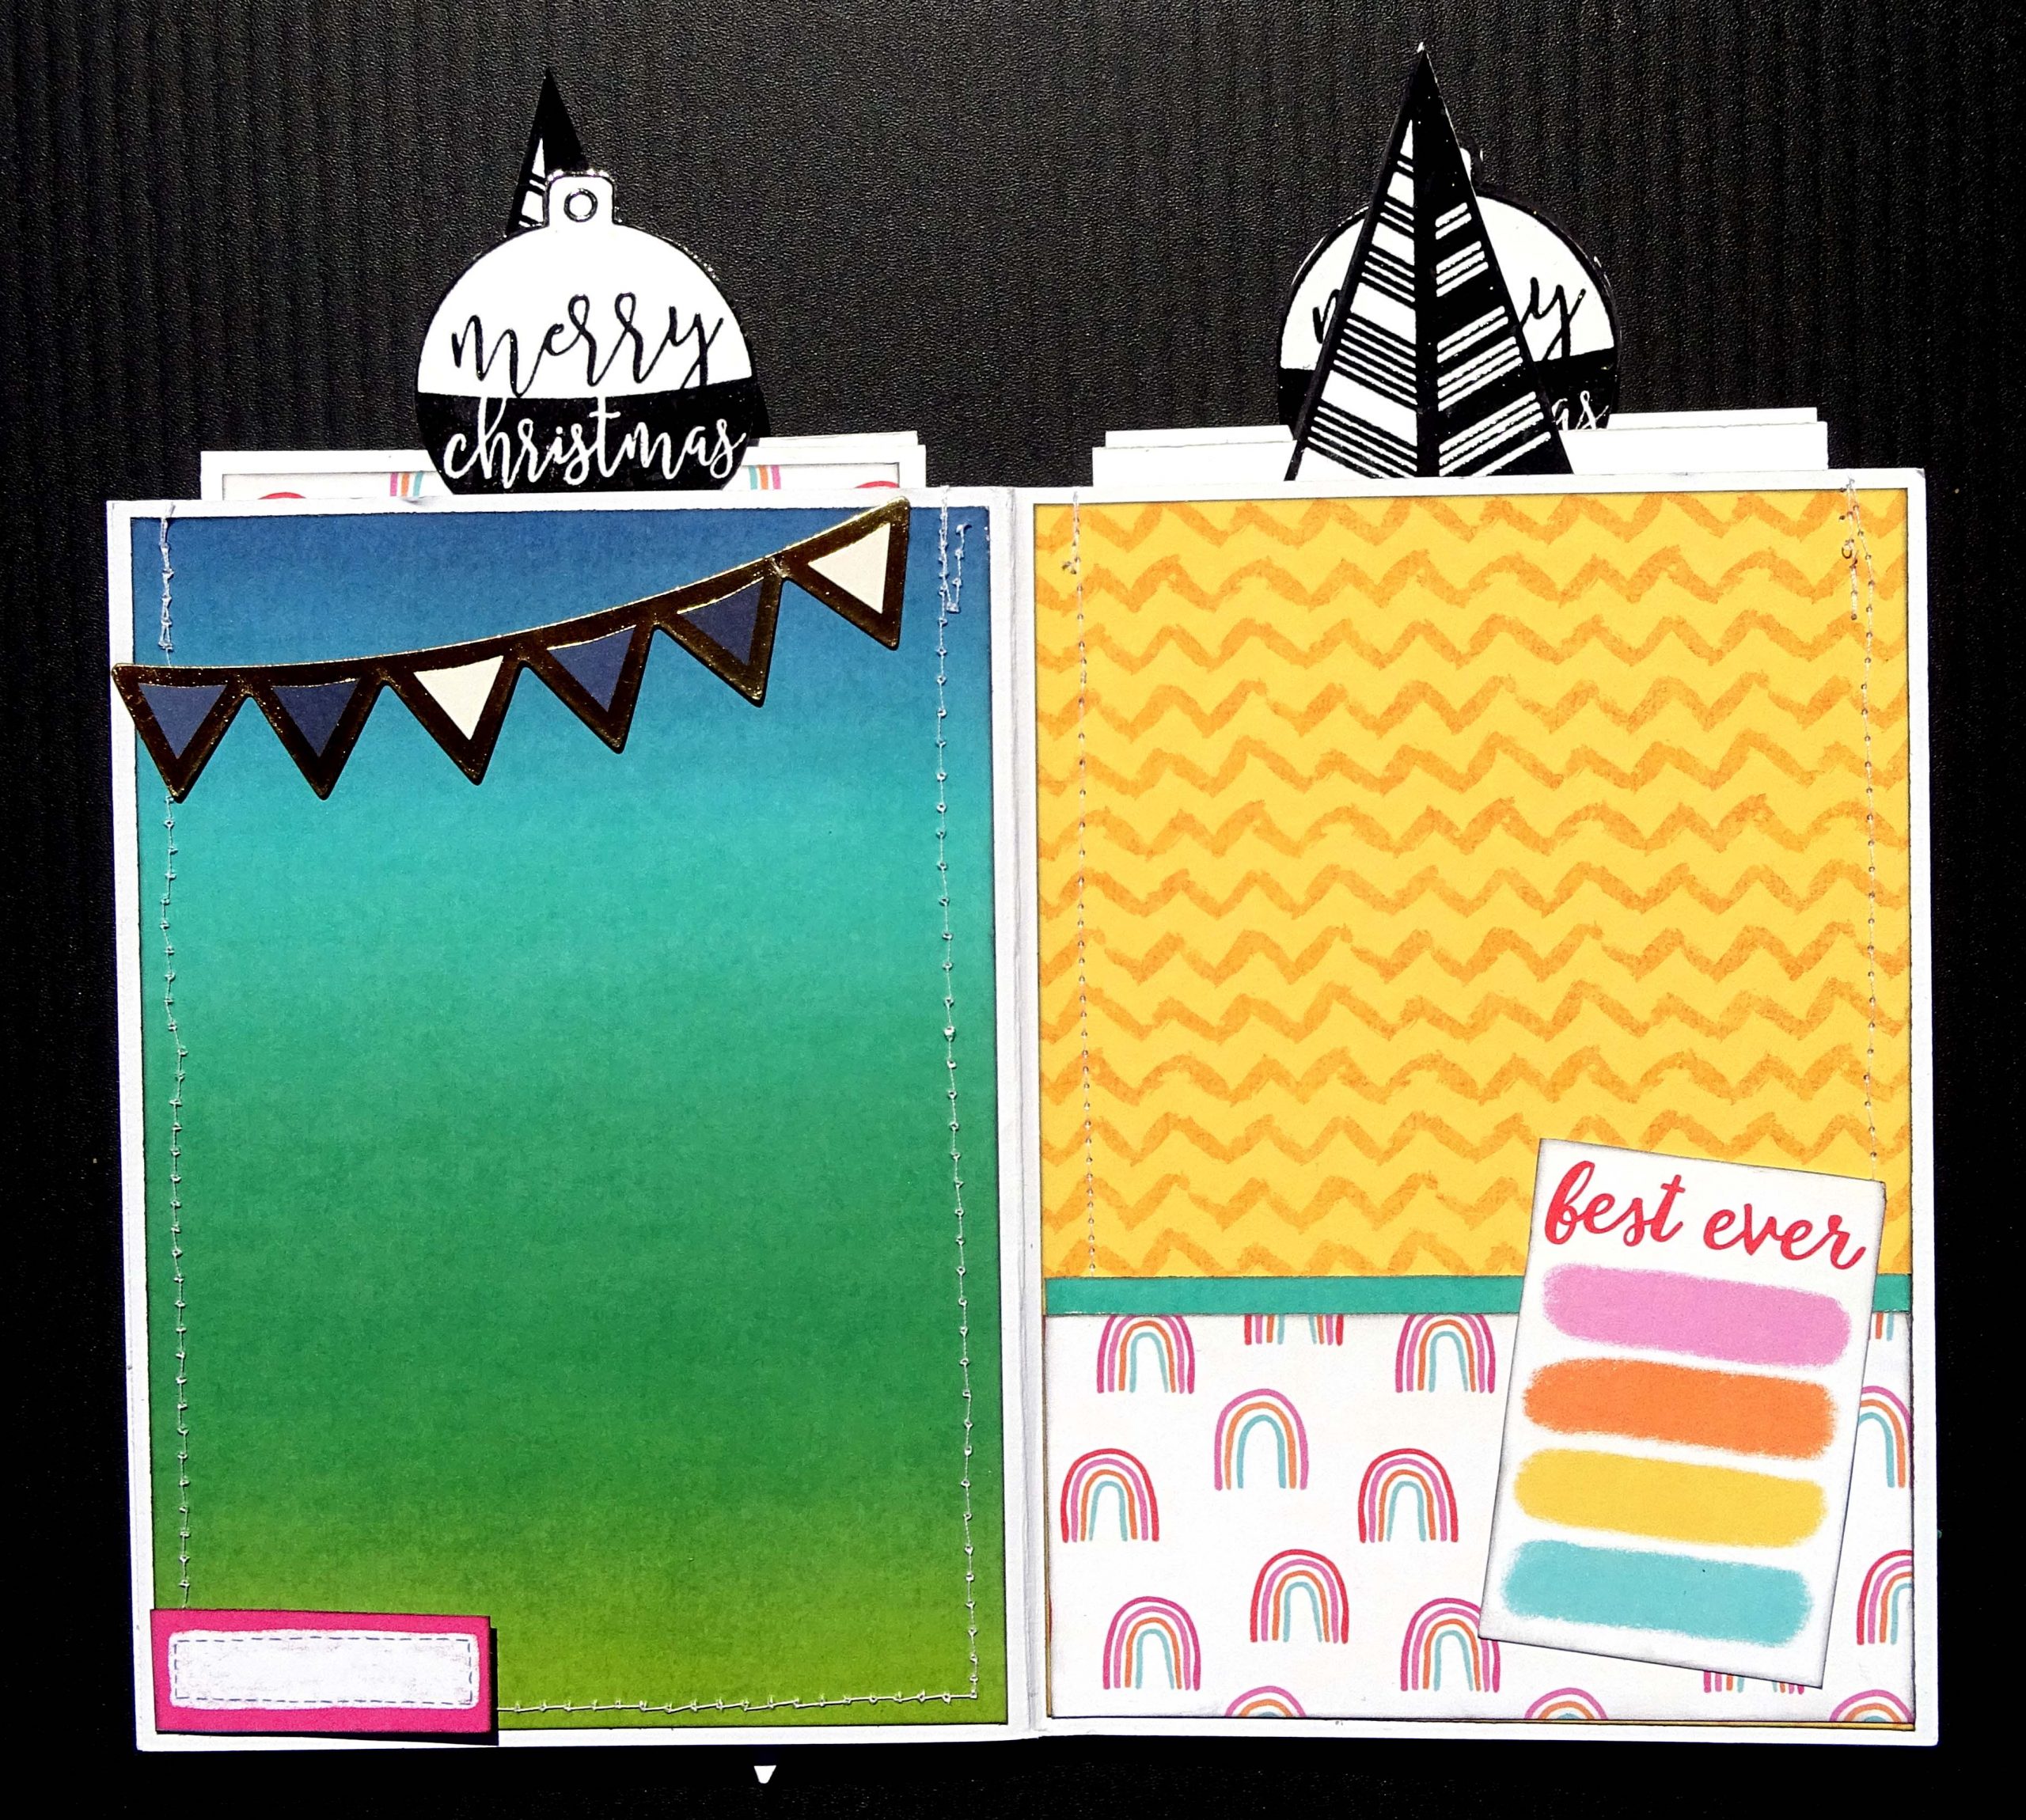
The banner on this page is from the collectables pack
and the cut apart is from the paper stack

These embellishments came from a pack I purchased from our local cheap shop.

The tab on the left page is another cut apart from the paper stack
and the poinsettia (this is a similar die) was die cut from the patterned paper.
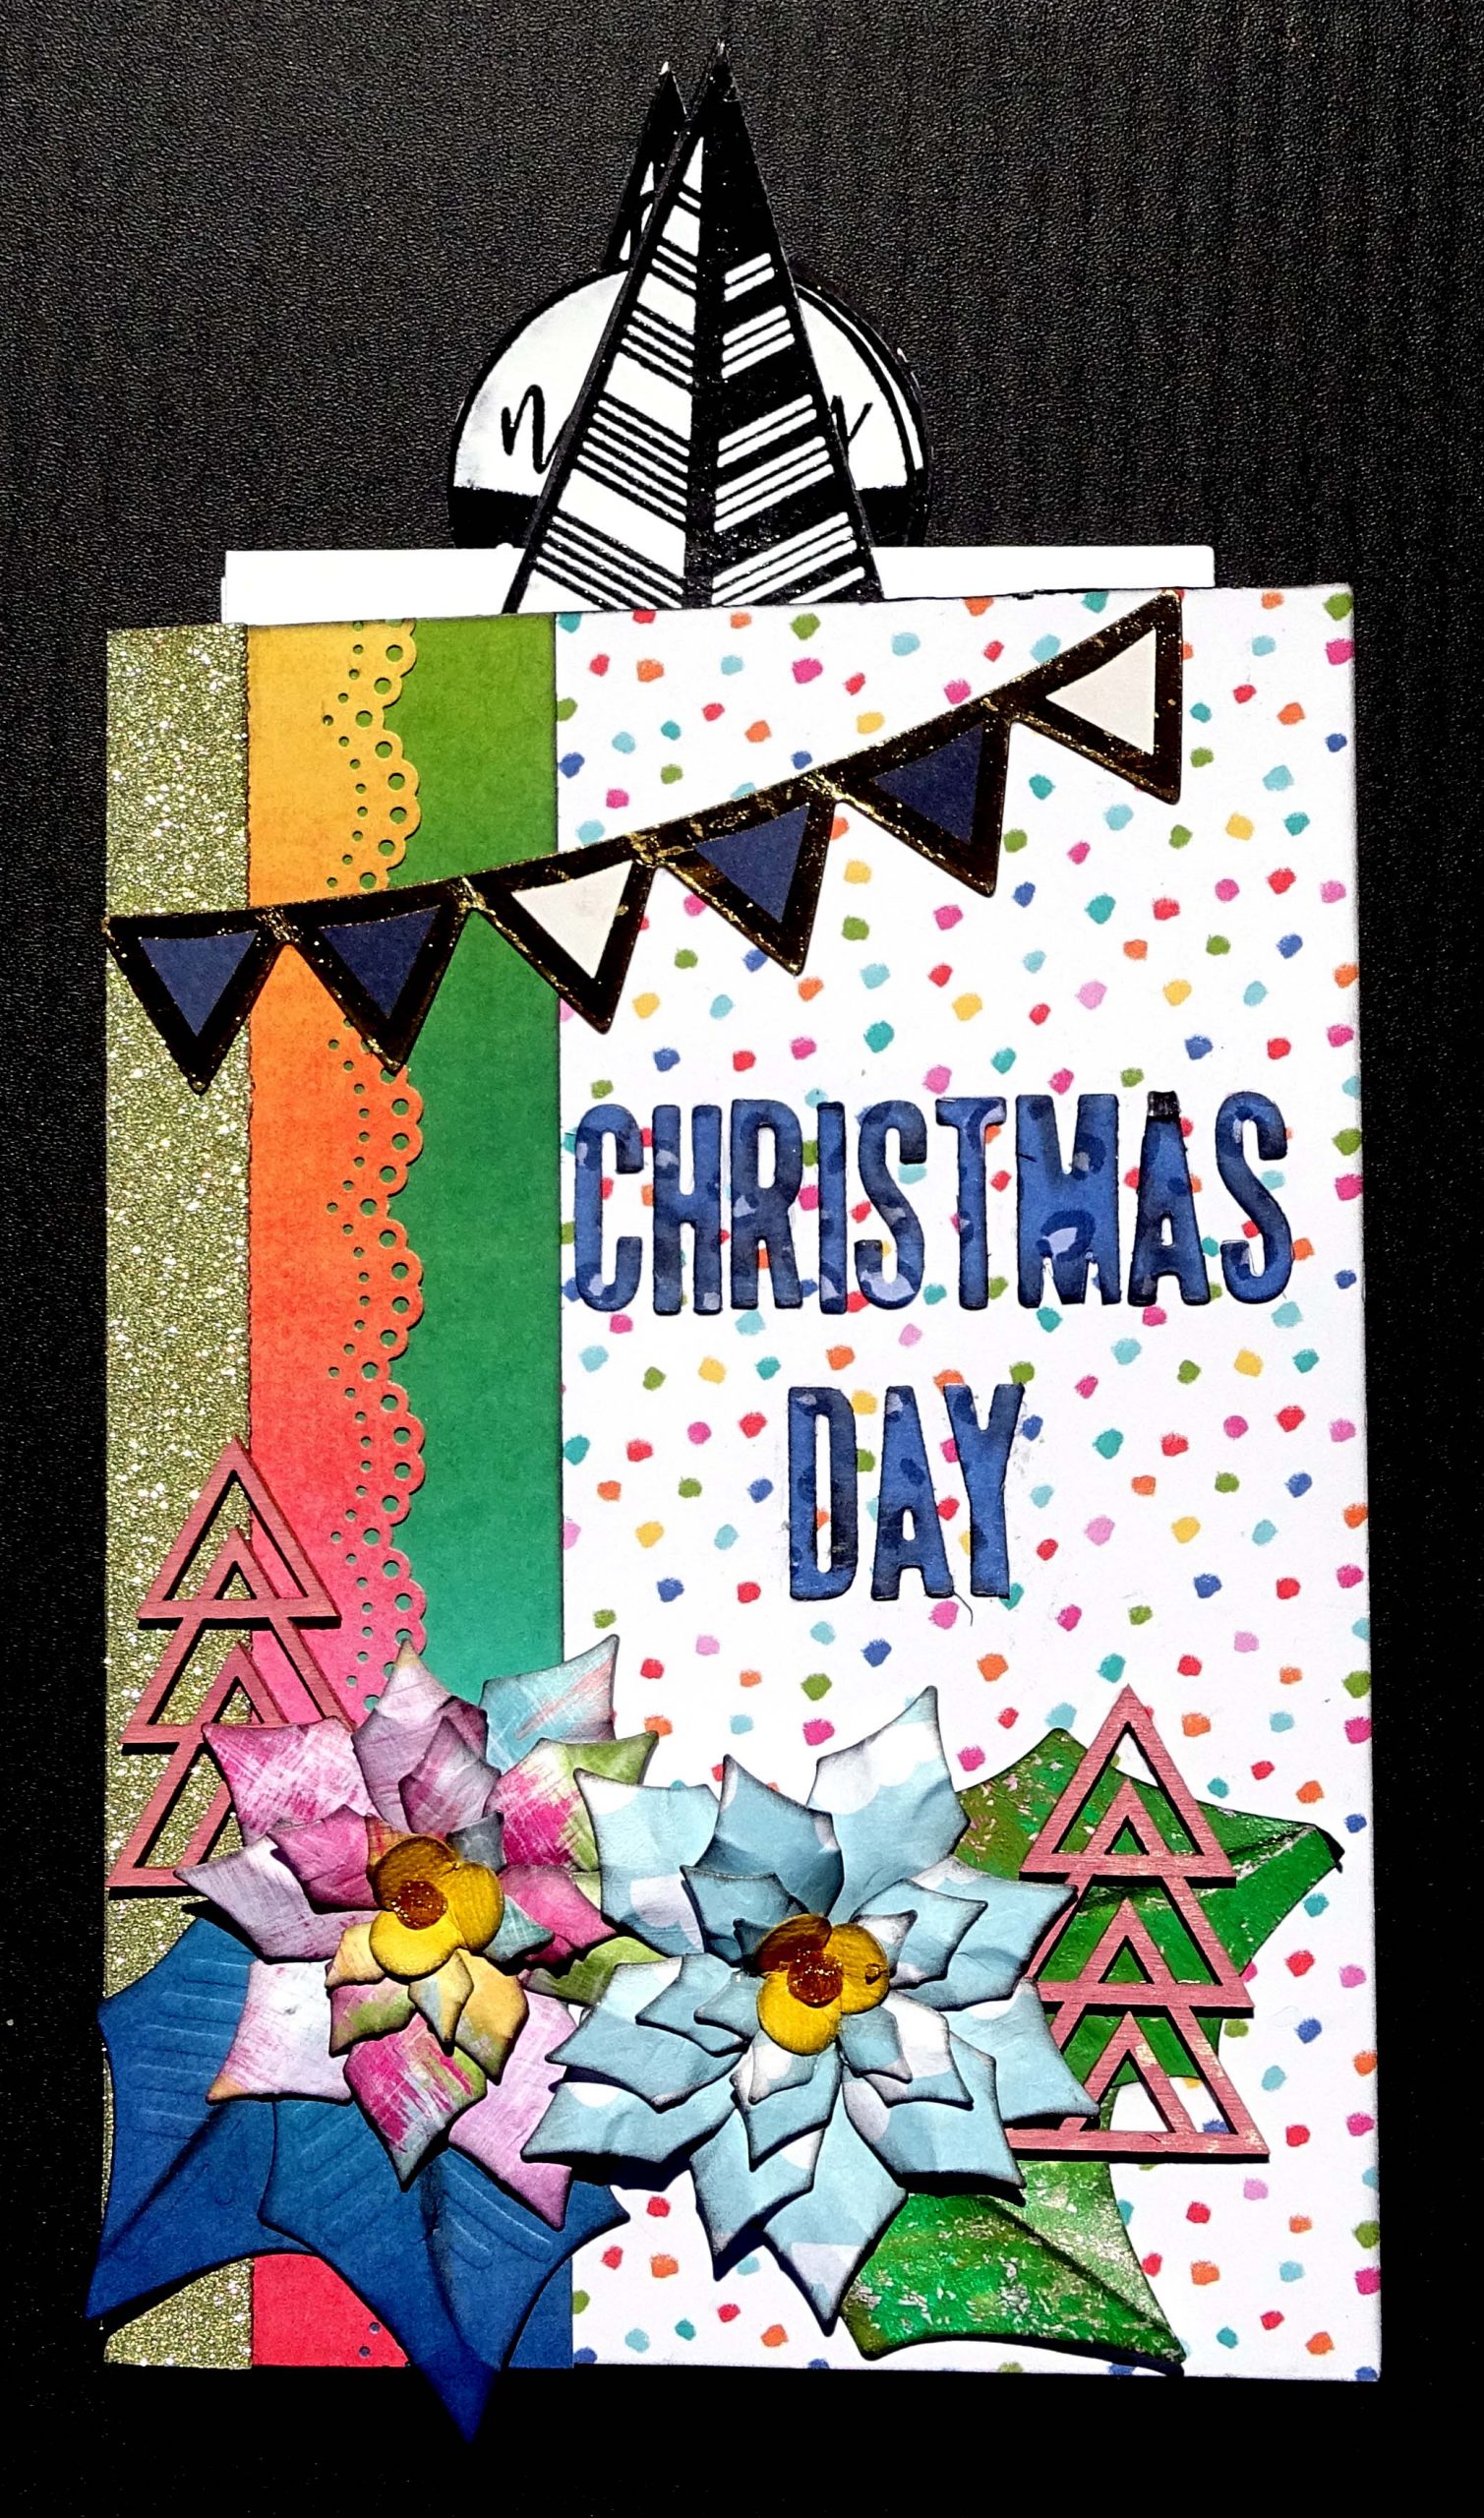
To embellish the cover I cut two more of the poinsettias,
painted two Christmas trees from the Wooded Flourish Pack with the same Dusty Pink paint,
the banner is from the Collectables pack and the
title is cut using Tim Holtz Inside Out Alpha die.
I have not added the year, I will do that when I use the album.
The centres of the poinsettias are Pops of Colour Glitter Champagne
If you check out my video below you will see the whole process
Looking forward to seeing all of your Christmas projects
Wishing you and yours a happy and fun Christmas season
Until next year
Stay safe
Julie
Challenge Rules
Please upload your entries to the correct album in our Private Facebook Chat Group by 11.55 pm, 31st December 2021 to be eligible for the prize.
The prize is by random draw. This month’s prize is an pack of Uniquely Creative Creative Cuts from the gorgeous Gums & Roses collection
International entries are welcome, however, due to international postage cost, the prize is a little surprise in the post.
Have fun
Mystical Team


0 Comments